Turning a written script into a polished video used to require expensive equipment, editing software, and hours of work. Vexub's Text-to-Video mode eliminates these barriers, transforming your words into fully-produced videos in minutes.
This tutorial walks you through every step of the process: from writing your initial script to exporting your final video. You'll learn the exact workflow that content creators use to produce dozens of videos per week using nothing but text and AI.
By the end of this guide, you'll have created your first text-to-video project and understand how to optimize every setting for maximum impact.
Understanding Vexub Text-to-Video Mode
Vexub's Text-to-Video mode is an AI-powered system that converts written scripts into complete videos. The system analyzes your text, generates matching visuals, adds voiceover narration, and creates subtitles automatically.
This mode differs from traditional video editing because you never touch timeline tools or manually sync audio. Instead, you work with text blocks and let the AI handle the production details.
Script Analysis: AI reads your text to determine scene requirements, pacing, and visual style.
Visual Generation: Each sentence or paragraph triggers AI image or video generation that matches the content.
Voice Synthesis: Your script becomes narration using AI voiceover technology with natural pacing and emotion.
Automatic Subtitles: Captions sync perfectly with the voiceover without manual timing adjustments.
The entire process requires no video editing experience. If you can write a script, you can create professional videos.
Step 1: Writing Your Script
Your script forms the foundation of your video. Vexub works best with scripts structured in short, clear paragraphs that each represent a distinct visual scene.
Start by opening Vexub and selecting Text-to-Video mode from the project creation menu. You'll see a blank script editor where you'll enter your content.
Script Structure Best Practices
Use short paragraphs: Each paragraph becomes a separate scene, typically 5-15 seconds. Break your script into digestible chunks.
Write conversationally: The AI voice sounds more natural when reading casual, spoken language rather than formal writing.
Include visual cues: Descriptive language helps the AI generate relevant images. 'A sunset over the ocean' works better than 'beautiful scenery.'
Maintain consistent pacing: Aim for similar paragraph lengths throughout your script to avoid jarring transitions.
Example Script Format
Here's a sample script structure that works well with Vexub:
'Ancient Rome dominated the Mediterranean for over 500 years. But what made this empire so powerful?'
'Roman military tactics revolutionized warfare. The legion system allowed coordinated attacks on massive scales.'
'Engineering marvels connected the empire. Roads, aqueducts, and bridges facilitated trade and communication.'
Notice how each paragraph focuses on one idea with vivid, visual language. This gives the AI clear direction for generating relevant imagery.
Step 2: Configuring Video Settings
After entering your script, you'll configure the core settings that determine your video's look and feel. These choices affect every frame, so take time to get them right.
Selecting Your Visual Style
Vexub offers multiple image generation styles. Click the Visual Style dropdown to see options like Cinematic, Illustrated, Photorealistic, and Anime.
Cinematic: Film-like visuals with dramatic lighting. Perfect for storytelling and documentary content.
Photorealistic: True-to-life images that look like photographs. Best for educational and explainer videos.
Illustrated: Stylized artwork with bold colors. Great for engaging social media content.
Custom Styles: You can also create custom image styles tailored to your brand.
Choose the style that matches your content category and audience expectations. Educational content typically performs better with Photorealistic or Cinematic styles.
Voice Selection and Configuration
The voice brings your script to life. Vexub provides dozens of AI voices across different accents, ages, and genders.
Click Voice Settings to browse the voice library. Each voice includes a preview button so you can hear a sample before committing.
Listen to at least 5-7 voices before deciding
Match voice age and gender to your content topic when possible
Consider accent preferences for your target audience
Test voice speed settings (most creators use 1.0x or 1.1x speed)
After selecting a voice, adjust the Speaking Speed slider if needed. Faster speeds (1.2x) work well for energetic content, while slower speeds (0.9x) suit serious or educational topics.
Aspect Ratio and Resolution
Select your video dimensions based on where you'll publish:
9:16 (Vertical): TikTok, Instagram Reels, YouTube Shorts
16:9 (Horizontal): YouTube main feed, website embeds
1:1 (Square): Instagram feed, Facebook posts
You can always create multiple versions with different aspect ratios from the same script. Start with the format you'll use most frequently.
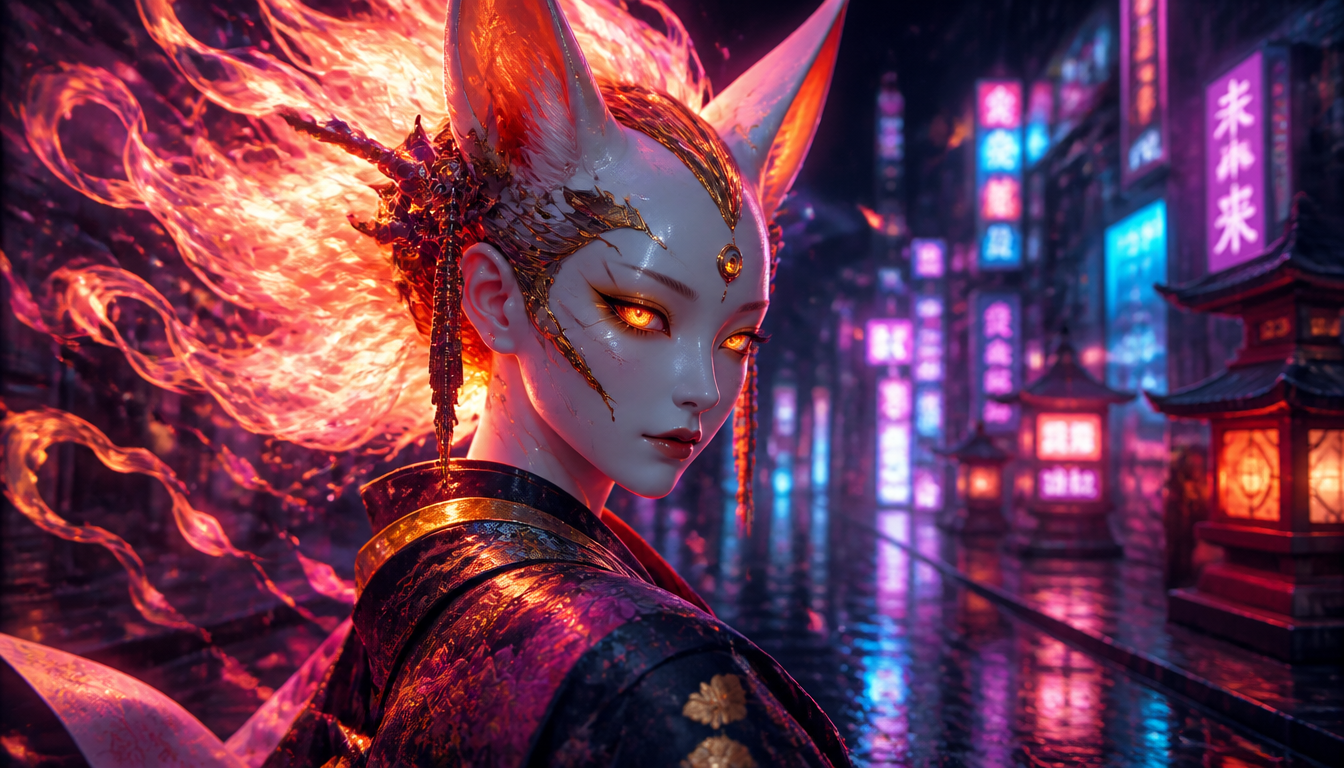
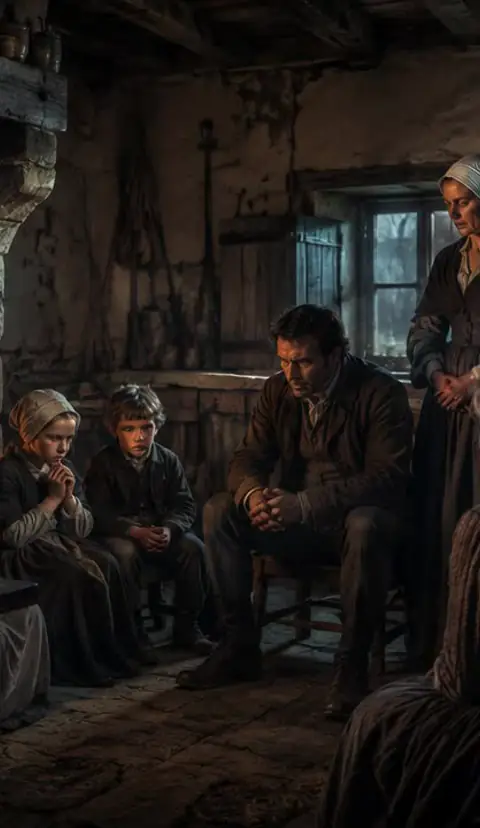
Create videos like this with AI
Script, voiceover, images and subtitles — automated in minutes.
Step 3: Generating Your Video
With your script written and settings configured, you're ready to generate your video. Click the Generate Video button at the bottom right of the screen.
Vexub processes your request in stages:
Script analysis (10-20 seconds)
Image generation for each scene (1-3 minutes depending on length)
Voiceover synthesis (30-60 seconds)
Video compilation and subtitle generation (20-40 seconds)
For a standard 60-second video with 10 scenes, expect 3-5 minutes of total processing time. Longer videos or complex visual styles may take additional time.
You'll see a progress indicator showing which stage is currently processing. You can navigate away from this page — Vexub will continue generating in the background and notify you when complete.
Step 4: Reviewing and Editing Your Video
Once generation completes, your video loads in the preview player. Watch it through at least twice: once for overall flow and once checking individual scenes.
Scene-by-Scene Editing
The timeline below the player shows each scene as a separate block. Click any scene to edit its components:
Replace visuals: If an AI-generated image doesn't match your vision, click 'Regenerate' or upload a custom image.
Adjust timing: Drag scene boundaries to extend or shorten specific moments.
Modify text: Edit the script for this scene, then regenerate just this segment.
Change transitions: Select from fade, cut, or slide transitions between scenes.
Most videos require 2-5 small adjustments. Common edits include replacing one or two images that don't quite fit and tweaking subtitle timing for better readability.
Subtitle Customization
Vexub generates subtitles automatically, but you can customize their appearance. Click Subtitle Settings to access:
Font family and size
Color and background opacity
Position on screen (bottom, center, top)
Animation style (fade in, pop, typewriter effect)
For maximum engagement on social media, use bold, high-contrast subtitle styles positioned in the bottom third of the frame.
Audio Adjustments
Balance your voiceover with background music by adjusting audio levels. The mixer panel shows:
Voice volume: Keep between -6dB and -3dB for clear narration
Music volume: Set 15-20dB lower than voice to avoid overpowering narration
Music selection: Browse Vexub's royalty-free library or upload your own track
If you want to change the background music, click the music icon and select from curated tracks that match your video's mood.
Step 5: Final Optimization
Before exporting, make final optimizations that improve video performance on social platforms.
Thumbnail Selection
Your thumbnail determines click-through rates. Vexub generates three thumbnail options from different scenes. Select the one with:
High visual contrast and clarity
Faces or expressive elements (if applicable)
Text or key visual from your opening scene
Alternatively, upload a custom thumbnail designed specifically for maximum clicks.
Add Hooks and Outros
Strong opening hooks keep viewers watching. Consider adding a 2-3 second intro scene with a compelling question or statement before your main script begins.
Similarly, add a call-to-action outro directing viewers to subscribe, visit your website, or watch related content.
Step 6: Exporting Your Video
When you're satisfied with your video, click the Export button in the top right corner.
Vexub offers multiple export options:
Quality settings: Choose between 720p, 1080p, or 4K resolution
File format: MP4 (recommended) or MOV
Include subtitles: Option to burn subtitles into video or export as separate SRT file
Watermark removal: Available on paid plans
For optimal social media performance, export at 1080p MP4 with subtitles burned in. This ensures captions display correctly across all platforms.
Export processing takes 1-3 minutes depending on video length and resolution. You'll receive a download link once complete.
Advanced Text-to-Video Techniques
After mastering the basic workflow, try these advanced techniques used by professional content creators:
Batch Video Creation
Create multiple videos from a single long-form script by breaking it into chapters. Write a 5-minute script, then use scene markers to export five separate 1-minute videos.
This approach maximizes your scripting effort while creating content for an entire week.
Template-Based Production
Save successful video configurations as templates. When you create a video that performs well, save its visual style, voice settings, and subtitle formatting as a template for future projects.
Templates reduce setup time from 10 minutes to under 30 seconds, perfect for maintaining consistent branding across a content series.
A/B Testing Different Styles
Generate the same script with different visual styles and voices to test what resonates with your audience. Upload both versions and track which gets better engagement metrics.
This data-driven approach helps you optimize your production settings for maximum impact.
Common Troubleshooting Tips
As you work with Text-to-Video mode, you might encounter these common issues:
Images don't match script: Add more descriptive visual language to your script. 'A red sports car racing down a highway' generates better results than 'a fast car.'
Voice sounds unnatural: Add punctuation to guide pacing. Commas create brief pauses, periods create longer breaks.
Subtitle timing is off: Use the subtitle editor to manually adjust timing for specific words that seem rushed or delayed.
Export takes too long: Lower resolution to 720p for faster exports, especially when creating draft versions.
For detailed solutions to specific problems, contact Vexub support with your project ID for personalized assistance.
From Script to Success
You now have the complete workflow for creating videos with Vexub's Text-to-Video mode. The process scales from simple 30-second social posts to comprehensive 10-minute educational videos — all following the same fundamental steps.
Start with short scripts as you learn the system, then gradually increase complexity as you master visual styling, voice selection, and editing techniques. Most creators find they can produce publication-ready videos within 20 minutes after practicing this workflow 5-10 times.
The key to success is iteration. Create videos, publish them, analyze performance, and refine your approach. With Vexub handling the technical production, you can focus entirely on crafting compelling scripts and developing content strategies that resonate with your audience.